With the help of paper Google sheets and Google Drive, you can use the solution to sell digital goods of any type, including PDF, ebooks, audio songs, article courses, graphic files and any other digital format. Let’s play with the live demo, so go to digital goods, dot dev, slash demo. Now this website has paypal, smart buttons.
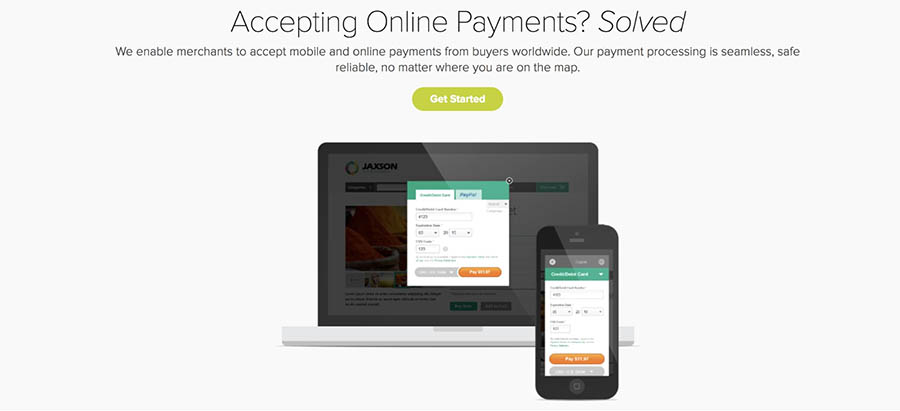
These are called Smart buttons because the buyer can pay in line without having to leave the website. Now, if the buyer has a PayPal account, they can click the yellow PayPal button to pay directly via their PayPal account, or they can click. One of these credit card icons to pay using their card. Paypal opens up a pop-up window and I can fill in my credit card details and the address right inside this window.
I can see the final amount of the order in the upper right and if I expand this, I can see more details like the tags and the details of the items. Okay. So, let’s now fill in the credit card details into this checkout window, so the payment is now complete and the website displays a little message saying that my order would be dispatched in a moment. I’ll now switch to Gmail to check if my order has arrived or not, and there you have the email.
Now, if I open this email you’ll find that it is an personalized email, meaning the name that I put in my PayPal order. It’s there in the email as well, and this email includes the files that I ordered, and it also includes an invoice, and this invoice has my name my address and all the other details that I entered during PayPal check out. This entire workflow was made possible with Google sheets Google Drive and Gmail.
The PDF files are hosted on Google Drive, the invoice is generated with Google sheets and the email was actually sent by Gmail. So let’s now see how we can build such a solution. In few minutes there is absolutely zero coding required go to developer.Apple.Com and sign in with your PayPal account. If you don’t have a PayPal account, you can use the signup link to quickly create one now when you’re, creating a new PayPal account.
Make sure that you create a business account now, since I already have a PayPal account, I will quickly sign in to my existing account. The first thing you need to do here is create an app that will handle your PayPal transactions so inside your PayPal dashboard go to my apps now, under the REST, API section you’ll see an option to create a new app give your new paper lab some name. Now this is for internal use only and won’t be visible to the world when you are ready, click the Create app button.

Your PayPal app has two modes sandbox and life. We will use sandbox while we are still testing the app and when our testing and integration is complete, we will switch to the life mode. Your new PayPal app has a client ID and secret that we will require in the next step, so go to digital goods. Dot dev slash copy and make a copy of this Google spreadsheet. In your account inside this Google spreadsheet, you will find a couple of sheets now.
First is the most important the configuration sheet we will enter all our paper lab details. Next is the item sheet where we’ll be entering the e products that are up for sale on our store. This sheet also has the files column, where you’ll put the Google Drive files, and these will be sent as attachments when somebody buys the corresponding product. The sales sheet will keep a track of all your PayPal orders and it will also have the customer details and the items that they have ordered.
This is the invoice template and it has place markers so, for instance, it has the name place marker and this will be replaced with the actual name that the user enters in their PayPal order. It has placed markers for address, city and other PayPal fields. It also uses spreadsheet formulas, so, for instance, the total amount is the sum of subtotal and tax. Next is the email template now here. The first row of the sheet is the subject line and everything else goes into the email body.
Now this is in plain text, but you can also use HTML tags in your emails. The last sheet in our spreadsheet is the log sheet and this is used for debugging. So if you ever face an issue or if something is not working, what you can do is go to the configuration sheet and check the debug settings set it to yes, and when you do this, a detailed locks would be added to your log sheet. So this was a quick overview of the Google sheet.
Let’s now create a PayPal web book now this is a simple URL that PayPal will call every time a new order is placed. So when we receive of a book our workflow triggers and we dispatched the order to the customer to create a web book, go to the Tools menu in a Google sheet and choose script. Editor now in the next page, go to the publish menu and choose deploy as web app said, the project version as new and give it some name choose me under the execute, the APIs section, and you also need to choose anonymous under who has access to this App click the Update button.
Now, the first time you run this Google script, it requires authorization because it has to do all the operations like generating PDF sending emails on your behalf. Now, if you see this app, not verified screen, do not worry I’ll leave a link in the show notes that will show you how you can get your app verified with Google. Then click allow on the next screen and you will be presented with the web book.
Url this copy this link and paste it into the web book field of your paper configuration sheet. Let’s now add the client ID and secret that are available in the paper developer dashboard. You need to do this both for the sandbox mode as well as the life mode. Now that we have filled in all the app details, let’s verify whether they are correct or not to go to the digital goods menu. It’s near the help, menu and choose the test menu.
If you get an okay on your screen, that means your configuration is perfect. Let’s fill in all the other details in our configuration sheet, our first we will start with a default currency. The brand name is your brand that will show up in your PayPal, checkout page. The soft descriptor field is important because this will show up in the credit card statement of the buyer. You should keep it under 27 characters, but the shipping option you can choose.
No shipping, if you don’t want to capture the postal address of your buyer, let’s choose the gate from file option. You can again use place markers to generate a unique invoice ID for every transaction. The success message is the text that will be displayed when the buyer makes the payment and the order is completed. If you want to add any of your team members in the cc or BCC field, just add their email addresses here.
I’ll skip the other fields in the configuration sheet, you can just read their descriptions and switch to the items. Tab now, first go to the cell a1 and enter a text rate that you want to charge your customers. Now you can enter even 0 %. If you don’t want to charge the expert for this example, I’ll say: 20 % now we’ll add a new product. Now all fields in this sheet are required. Now, you’ll notice that, as soon as I enter the price, the tax in the final amount is automatically calculated based on the text that you have entered in the cell a1.
Next, we need to specify the files that should be sent with this product, so highlight the cell h3, which is the files column and then go to the digital goods. Menu again and choose attach drive files. Now here you have a list of all files that are available in your Google Drive, so just select the one that you wish to attach with this product. So the first item has been successfully added to our store.
Let’s add another item, and this time it will be some audio files if you want to send multiple files with a single product. Just select them in your Google Drive we’re pressing the shift key and they will all be associated with the product I’ll switch to the invoices tab now, and this mostly looks good I’ll just make a few changes. Maybe I’ll add the name of my company I’ll switch to the email tab now this also looks good.
I just put my name in the email body, so we have added two items in our store. Let’s now test them so go to the digital goods menu and then choose the embed option, as if you have added two products in our store. We see the embed codes for two buttons, so let’s expand the first one di0 one here, you’ll find two embed codes for the same product. One is the sandbox mode button and this is the one that you should use.
While you are testing your integration and once all the testing is complete and you are ready to integrate with the live website – go with the live mode button first, we’ll test the sandbox mode button, so I can either copy paste this code and paste it on an External website, like say code pen or what I can do is I can hit this try button and test my PayPal buttons right inside the Google sheet to make a transaction.
We need to fill in the credit card details now because we are in sandbox mode. We don’t have to use her actual credit card. What we can do is go back to the PayPal dashboard, and here you can see an option to generate a me credit card numbers. We can just use them for our credit card transaction. While you are in sandbox mode all set, let’s now make our first transaction with PayPal smart buttons, so our first PayPal transaction went through successfully and let’s now switch to the log sheet and very soon you will see a new entry here saying that a new order Has been received, and within a few seconds, this order is also dispatched to the buyers email address.

Let me now switch to Gmail to check the actual email that was sent out to the customer and there’s the actual email that was sent to the customer with the PDF files and the invoice. And if I switch to my Google sheet and open the sale tab, you can see that a new row has been added with all the details of the PayPal order that was just received. So assuming that you’re integration is working fine in the sandbox mode.
It’s time to get the live buttons so go to the embed menu and this time grab the code for the live mode buttons, because this is the one that you should use on your actual website, I’ll quickly, open a new web page on code, pen and paste. The embed code and your PayPal, smart buttons, are now live. Anybody can go to your website and make a transaction. So you have just seen how easy it is to build your own digital product store with the help of PayPal and Google sheets, so just head over to digital goods, store, dev and start building your own digital product store with PayPal.
Thank you.
