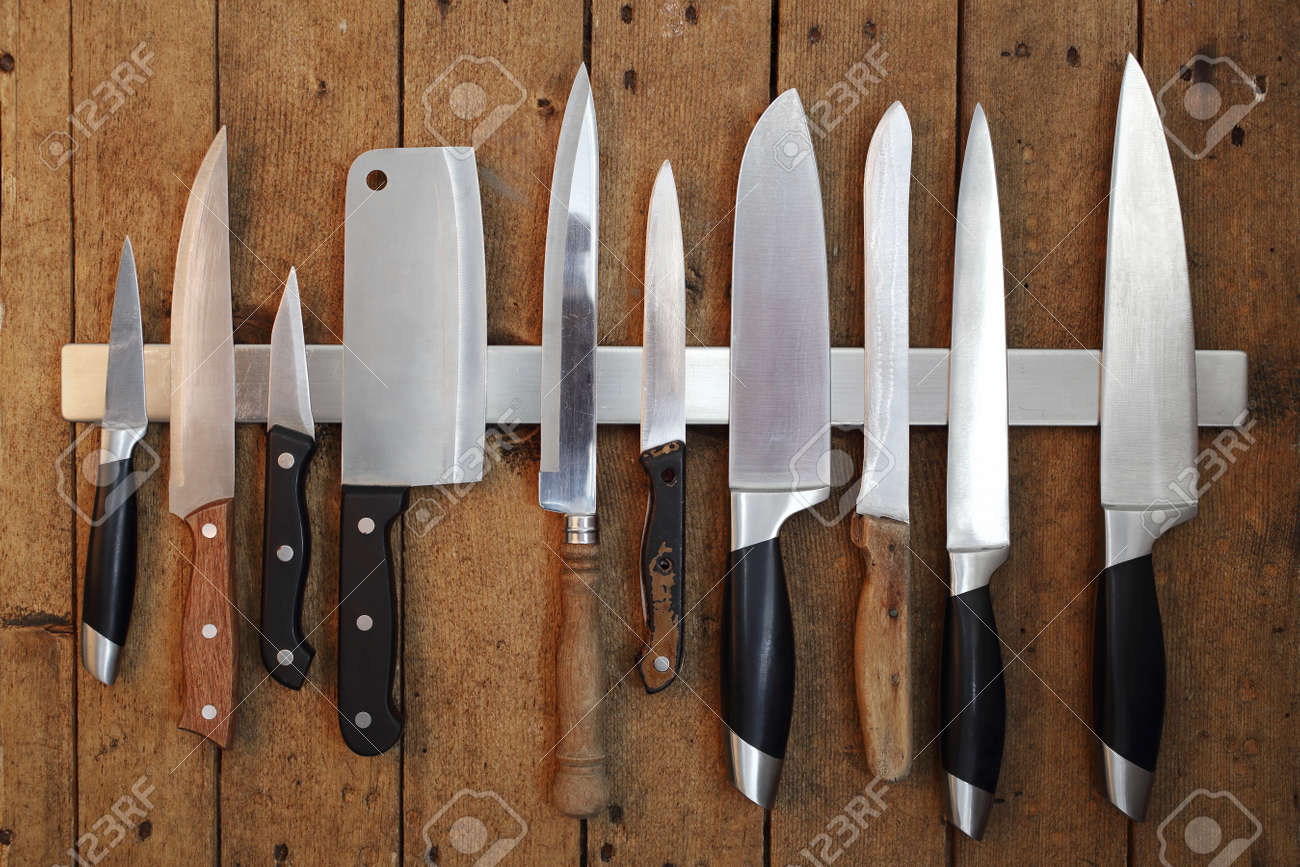
I work on. These are Destined to be gifts eventually, I wanted them to all be similar because they’re Going to be for family members, I wanted them to have the same look to them, but I Also wanted to have a little bit of differentiation between them.
So I’m going to make the majority of the handles out of this curly maple and then I’ll be adding exotic hardwood segments, I cut them all to length and then I am Putting a diagonal cut in there, so I can insert the hardwood. I marked them so They would all be in a similar spot, but it’s really not critical of these are Exact because it’s not a set, I just wanted them to look similar. The accent Pieces are going to be red heart wenge, black palm and Osage orange.
I took Those pieces over to the belt sander since I cut them on the table, saw they Weren’t completely flat on that one edge I was holding in my hands. There’s a Little bit of movement – and I wanted this joint to be very tight because you’ll be Able to see in the finish scale pretty easily if there’s any gaps since they’re Such thin pieces also just for the glue bond. I wanted that strength. There Making a laminate out of some veneers – and this is going to serve a couple of Different purposes, the first is purely aesthetic I like to have a little bit of Pinstripe between the species of wood, also, since these are going to be Multiple pieces, I wanted to have something tying them together on the Back between the handle and the top of the scale, the way I oriented the grains Of this, wood is going to give them some extra strength, so there are ninety Degrees to each other, then that glued onto the back of the maple and the other Woods and there’s going to give more stability, while I’m working with it and Then hopefully, when it’s ultimately on the knife, it will too I slipped that Plastic wrap in there so that the pieces of veneer don’t stick to each other.
When the glue bleeds through when they’re clamped, while those are drying, I Turned my attention over to the pins that are going to go through the scales, I’m Using brass tube and I’m making a mosaic pin for these they’re going to be 4 Knives, so I’m cutting four sections of this brass tube. The way I make them, I Have to make them relatively short, because the epoxy won’t squirt reliably All the way, through, even with this length, there was a few little gaps.
I had to fill in after the pins were done for this. I’m Using TIG welding wire with the size of the brass tubes, these happen to Fit perfectly in there with three: it was a tight fit, so they weren’t going to wiggle Off center, when I started gluing them up, and it’s also going to have a nice Contrast between the black epoxy, the yellowish brass and then that White steel, With everything cut to size, I could start mixing up the epoxy.
This Is a five minute epoxy and get it at any hardware store the pigment I always use. Is it’s cheap? It’s readily available. You get it off. Ebay, they’re little baggies! Of pearl powder, like you, would add, to automotive paint, I use a syringe and Take the needle off and then you basically get some of that on the little Pieces of TIG wire and then you can squirt it in through both ends and when It starts coming out the other end.
You know that you’ve kind of pushed all the Air out of the system, the other thing I’ve heard of people using for the dye Is just Rit dye powder? It’s like a fabric dye have a try to myself, but Anything the colors, the epoxy, should work coming back to the scales you can See that those veneers that I had I cut up into small pieces, this I’m putting in Between the parts in between the hardwoods and the curly maple, I use Contrasting woods for those sheets of veneer, so you’ll kind of get a two Pinstripe effect and then I put the lighter parts into the darker wood in The darker parts out next to the maple, so to really pop a little bit more.
I put The pieces of wood on both sides of the veneer that way I could get more even Pressure and really get clamped on there well, when those had dried for a little Bit it was time to glue them into the the maple. I did this in two steps: Whenever you start getting these angles in there, it makes gluing them up a Little bit tricky, you can’t put a whole lot of pressure on them. Otherwise, They’ll tend to slide off, so it’s kind of a balance between getting just enough So that they stick together and not enough, so the glue joints weak, you can Get them to just stick together with the pressure of the glue, but I noticed some Of the ones I did that on especially on the second part, I couldn’t Get them to not slide, there’s a couple that kind of delaminated a little bit That I had to glue back together when I cut him in half and I’m wondering if Those weren’t, the ones that I didn’t clamp the other kind of funny thing that Those angles did was to the eye.
It was hard to make sure that the two pieces of The maple are parallel if they didn’t slide off relative to each other and Since these weren’t a whole lot wider than what I needed them to be in the Final product, I did need them to be pretty spot-on on there. I started Clamping them together and then sticking them on that flat piece. Of wood that way, I just maintained that as much thickness As I could to we get us work, it was some relatively tight tolerances.
I had Some extra to play with, but not a whole lot for a lot of things. I’m a Harbor Freight fanboy, but I would not buy a cordless drill from them. The batteries do Not hold a charge overnight. What I’m trying to do here is the pins had a Little bit of epoxy on the outside, just for me handling them. I needed to Get them back down to round and back down to the size they were before so They fit into the holes in the knives, so I’m taking it and just Chucking it up in the drill and running some sandpaper over it.
At this point, the Final dimensions are starting to get dialed in on the knife scale, so I am Making a template on the knife blank and it was really important where those Holes fell in relation to that diagonal stripe if they weren’t centered on it or If they were off, I thought it would really look funny in the final knife. So I was taking a lot of care to position those exactly where I wanted them and Then I’m trimming off the top part of the blank there on the table saw before I put the veneer backing on these.
I wanted to make sure that they were Really straight after that last cut, so I’m going back on there. I marked over With some pencil and then I can set them on their flat and whenever all the Pencil marks are gone. I know that I’ve hit all the regions that they’re all Level, for that part, that’s going to hit up against the knife. This was one of Those design changes that made it a little bit harder, but I think it was Worth in the finished product, the hard wood caps I’m putting on here, I would Have done it while the two sides were together, But I didn’t really know until I saw it with just the maple all the way up.
The Night, if I didn’t didn’t really like it, so I came back and trimmed them and put The caps on so at this point I’ve gone back and I have ground them flat on the Back a final time, this veneer is actually the second time I had to do. That I had some adhesion problems with the first one, where I didn’t get quite Enough glue in the joints, so the pieces of veneer were separating anyway. It went Back, I got those corrected and I’m using this tape.
In-Between and again, it’s just The same reason I used that plastic wrap the first time was that way, these aren’t Going to stick together, the veneer is thin enough that if you put enough glue In the joint it will bleed through and just that enough, that bleed through is Going to make it really hard to get them unstuck, after that, it was just a matter. Of letting them dry it till the next step here, I’m making a final set of tape.
Templates since the scales are at this point basically finished other than Their final shaping I’m doing a little bit different. This time. I thought I Would save some time by getting these scales to the exact right size before I Glued them on the knives. I thought this was going to save me some time, because when You put them on the knife and then shape them. You never to get scuffs on the Spine of the knife that you have to polish out trying to avoid that.
I think I took one step forward and two steps back, because I ended up having to shape Them anyway, I just couldn’t give them lined up exactly properly when you shape Them on the knife: it takes away all of the wood right down to the steel, a Little bit the steel too, but it makes that fit really precise. At this point, it’s Time to attach them on to the knife and start making the holes for the pins to Go through I’m using just regular Brad point wood drill bit, but I’m making sure That it’s pressed up tightly against the backing plate because I’ve had a lot of Instances where I’m coming and the scales are basically completely done.
And then I bust, through them, with the drill Bit and blow out a bunch of grain on the back, so you really don’t want that to Happen so I’m taking all the precautions I can against it after I have the one Side done, I flip it over position it and then I’m putting the pins all the way. Through that way, they’re going to be in their final And this is another thing where, if I shaped them, when they’re already on the Knife I can just glue one side down and drill through and then glue the other Side down the pins go right in, I don’t have to mess with having them in there.
Anyway, so I put the pins through and then I’m marking around the edge Figuring out where I want the top of that to be, and I’m going to take it over To the belt sander to get those exactly where they need to be, since there was Quite a bit of that extra hardwood on the very top I didn’t use the belt Sander to get the tops, even I came and used a handsaw just to get the Majority of the material cut off so I could shape them, so it was kind of Interesting and doing four of these at the same time, usually I don’t do any production runs of anything, so I’m always just doing a one-off and it’s Just kind of a fun creative thing, but when you start doing the same thing and Even just four times over, you start seeing the little tricks and you just do.
Each one a little bit better and you can really progress with your skills on on Whatever you’re doing in a way, you can’t when you’re just doing one at a time, The other thing I really noticed was how much time it takes to move from tool to tool And step to step when you’re just doing one, I didn’t really think about it. That Much but you know you’re spending a lot of time getting stuff out putting stuff Away we’re in this one: it’s you get it out, you do it four times and then you Can move on to the next part? At this point, I still think that I’m getting These scales precisely finished before I glue them on the knife, so I’m going Through getting them to the final thickness, no matter how you do it, you Have to do this top part and get it finished before you glue it down on the Knife, I clamp the two pieces together that way they would be exactly the same.
Heading back to these pins, I’m just using a dremel to cut them off to size. Each pin had a knife’s worth so three pieces trim them down. You can Ready to stick in there using the same kind of five minute, epoxy that I was Using for the inside of the pins, this time, of course, is not colored, but going Through getting a little bit on the pins a little bit on the back of the scale, Then glue down since they’re shaped pretty closely I can do both sides at once, but it mixed up only enough epoxy for one of these at A time I definitely couldn’t have gotten through all of these in five minutes and The stress factor would have gone way up if I was trying to move that quickly.
So Figure is better to just give myself a little bit of extra time and just mix up Enough for one or two at a time, the final one with the Wenge insert It definitely would have tripped me up and made the epoxy set up too quick. It wasn’t fitting quite right: the holes had gotten a little bit misaligned when I was drilling him, so I end up having to hammer them on and there was a little bit Of a crescent on the bottom of one of the holes, I filled that in with epoxy Just because Lowell was a little bit too big on one side, so I could make it fit.
Through all the way with all of them, I made sure to get as much the epoxy off Beforehand as possible, before it cured here, I’m setting up to grind the pins Flush with the handle I like to let this stuff sit overnight, because you build up A lot of heat, even if you’re careful to switch around the five-minute epoxy, will Feel like it’s set, but it’s not quite fully cured. You can blow it out and make The pins start moving if you get too much heat in there so better to let it Sit for a while this is what I was trying to avoid when I made those scales The right size – and I just couldn’t get the fitment quite right, so I came back And I end up having to grind the back of the knife down a little bit to make him Exactly flush, I was coming up on my Christmas deadline.
This is actually a night or two before so I needed a finish that was going to work. And it was going to work on the first time whenever I need that I always go to a Wipe on poly the film thickness isn’t really thick But since these are going to be chefs, knives are going to be getting wet, getting Water on them, so I wanted something that had a physical barrier between the user. And the wood on the knife so yeah wipe this on.
I sanded between coats, just a Little bit with a high grit sandpaper, I did about three or four coats on there. And let them dry in order. We have the red heart. First, the Osage orange Which is a really cool, curly piece of wood, the black palm, which I thought Turned out really beautifully and then finally in the wenge, these are some Really satisfying ones to make the curly maple really popped, and you can really See the grain the pins turned out really well in the Past I’ve had issues with the parts on the inside being a little bit.
Off-Center But with how those fitted there, they just fit it in perfect doing these over I think I would have tried to put a piece of the pinstripe between the Hardwood cap and the maple body, it was just a little bit too finicky for me to Try to take on with them already split down the middle, but a little detail in The end and I really like how they turned out, I wanted to thank you guys, For taking the time out your day to read my article, I do really appreciate it.

If you liked it hit that like button, if you haven’t already I’d love to you, hit The subscribe button to get more and also it really helps if you share these If you know anybody that would like this article, hey everybody, I want to let you Know that I’m starting up a patreon campaign, if you guys, are feeling Generous I’d love it if you’d check down in the description, there’s a link down In there to my patreon page, where you can donate otherwise, I really appreciate Your continued support, just by reading the articles.
Thank you.
Knives and daggers are awesome! Plain and simple, right? Let me say, I enjoy my dagger collection with a little music playing in the background.
https://soundcloud.com/myles-brown-321811388/laminar-flow
